Expose your local server with Cloudflare Tunnels for free

Have you ever needed to expose your local web server to the public Internet? There are a lot of tools out there that will help you do that. Most of them have free versions with limited features and full-featured paid versions.
In this post, I'll demonstrate totally free method to expose your local webserver that is totally free with HTTPS support - Cloudflare Tunnels.
What are Cloudflare Tunnels used for?
Cloudflare Tunnels, previously known as Argo Tunnel, are used to securely connect and expose private, on-premises, or local web servers and applications to the public internet through Cloudflare's global network.
It serves several purposes and offers various benefits:
- Security - Cloudflare Tunnels establish a secure and encrypted connection between your local server or application and Cloudflare's network.
- Performance - By routing traffic through Cloudflare's global network of data centers, Tunnels can significantly improve the performance of your web server or application.
- Content caching - Cloudflare can cache static content close to end-users, reducing the load on your local server and speeding up content delivery.
- Access control - You can use Cloudflare to control and restrict access to your application or server based on various criteria, including IP ranges, geographical location, and more.
- Analytics and Monitoring - Cloudflare offers insights into your traffic patterns, request analytics, and security events, allowing you to monitor and analyze your application's performance and security.
How to expose a local webserver with Cloudflare Tunnel?
Sign up for CloudFlare
If you haven't already, sign up for a Cloudflare account at https://www.cloudflare.com/.
Set up your domain
Add your domain to Cloudflare if it's not already configured. You'll need to change your domain's DNS settings to point to Cloudflare's nameservers. This process is usually straightforward, and Cloudflare provides detailed instructions during the setup.
Install cloudflared
cloudflared is the command-line tool that you'll use to create the tunnel. You can download it from the Cloudflare website or use a package manager if your system supports it.
For MacOS, you can install it with
$ brew install cloudflare/cloudflare/cloudflaredCheck the documentation for Windows and Linux
Authenticate cloudflared
$ cloudflared tunnel loginThis command will
- Open a browser window and prompt you to log in to your Cloudflare account. After logging in to your account, select your hostname.
- Generate an account certificate; the cert.pem file, in the default
cloudflareddirectory.
Create tunnel
$ cloudflared tunnel --url http://localhost:3000which outputs
➜  ~ cloudflared tunnel --url http://localhost:3000
2023-09-19T06:32:41Z INF Thank you for trying Cloudflare Tunnel. Doing so, without a Cloudflare account, is a quick way to experiment and try it out. However, be aware that these account-less Tunnels have no uptime guarantee. If you intend to use Tunnels in production you should use a pre-created named tunnel by following: https://developers.cloudflare.com/cloudflare-one/connections/connect-apps
2023-09-19T06:32:41Z INF Requesting new quick Tunnel on trycloudflare.com...
2023-09-19T06:32:43Z INF +--------------------------------------------------------------------------------------------+
2023-09-19T06:32:43Z INF |  Your quick Tunnel has been created! Visit it at (it may take some time to be reachable):  |
2023-09-19T06:32:43Z INF |  https://important-forecasts-slide-seller.trycloudflare.com                                |
2023-09-19T06:32:43Z INF +--------------------------------------------------------------------------------------------+
2023-09-19T06:32:43Z INF Cannot determine default configuration path. No file [config.yml config.yaml] in [~/.cloudflared ~/.cloudflare-warp ~/cloudflare-warp /etc/cloudflared /usr/local/etc/cloudflared]
2023-09-19T06:32:43Z INF Version 2023.8.2
2023-09-19T06:32:43Z INF GOOS: darwin, GOVersion: go1.20.7, GoArch: amd64
2023-09-19T06:32:43Z INF Settings: map[ha-connections:1 protocol:quic url:http://localhost:3000]
2023-09-19T06:32:43Z INF Generated Connector ID: 5769f194-aaf7-4d34-9601-d8a95e4f18ba
2023-09-19T06:32:43Z INF cloudflared will not automatically update when run from the shell. To enable auto-updates, run cloudflared as a service: https://developers.cloudflare.com/cloudflare-one/connections/connect-apps/run-tunnel/as-a-service/
2023-09-19T06:32:43Z INF Initial protocol quic
2023-09-19T06:32:43Z INF ICMP proxy will use 192.168.88.95 as source for IPv4
2023-09-19T06:32:43Z INF ICMP proxy will use fe80::843:9cf:cba7:e22 in zone en10 as source for IPv6
2023-09-19T06:32:43Z INF Created ICMP proxy listening on 192.168.88.95:0
2023-09-19T06:32:43Z INF Created ICMP proxy listening on [fe80::843:9cf:cba7:e22%en10]:0
2023-09-19T06:32:43Z INF Starting metrics server on 127.0.0.1:57881/metrics
2023-09-19T06:32:44Z INF Registered tunnel connection connIndex=0 connection=6eea7fda-05f1-4b61-8de7-f802e5b1734f event=0 ip=198.41.192.47 location=sof03 protocol=quic
The tunnel URL is in the square - https://important-forecasts-slide-seller.trycloudflare.com
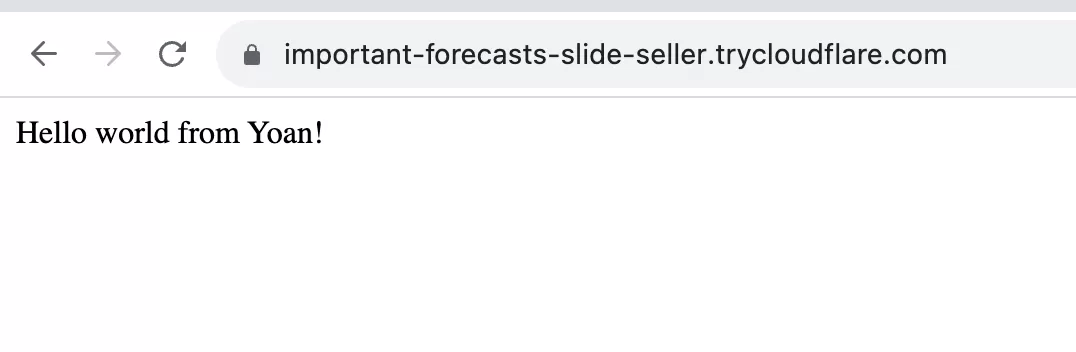
Here is my simple web server using BunJS. Here is my web server code:
// server.tsx
const server = Bun.serve({
  host: '0.0.0.0',
  port: 3000,
  fetch(request) {
    return new Response("Hello world from Yoan!", {
        headers: {
            'Content-Type': 'text/html',
            'Cache-Control': 'no-cache',
        },
    });
  },
});

console.log(`Listening on localhost:${server.port}`);
Run it with
$ bun server.tsxCreate Cloudflare tunnel with Docker
Let's say you want a more customizable setup. You can use Docker to expose your server.
After you enable Cloudflare Tunnel, head to Zero Trust -> Access -> Tunnels
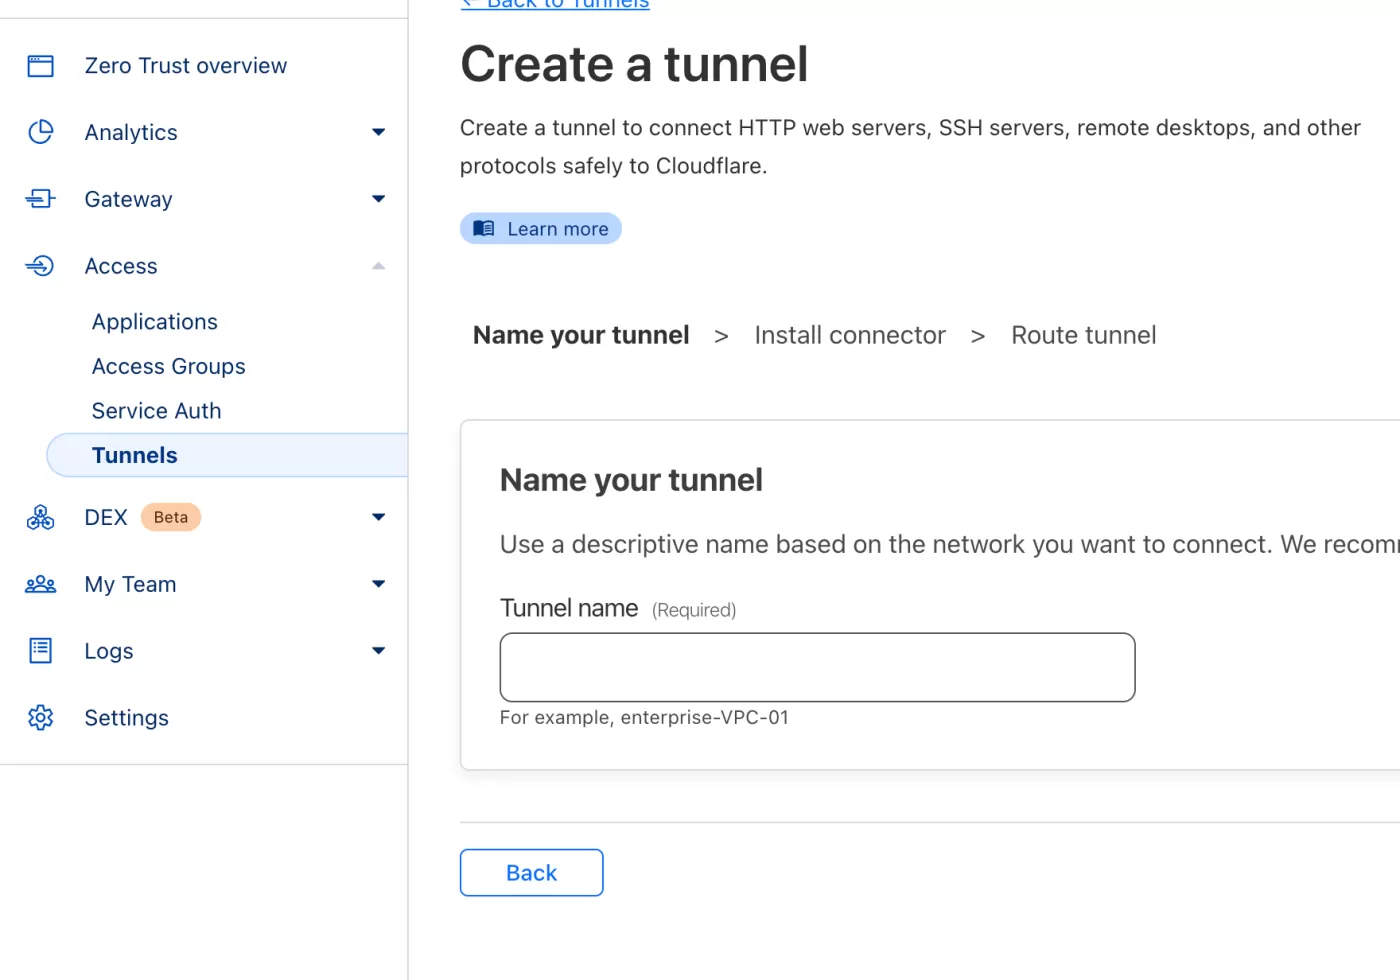
Name your tunnel (you can change it later).
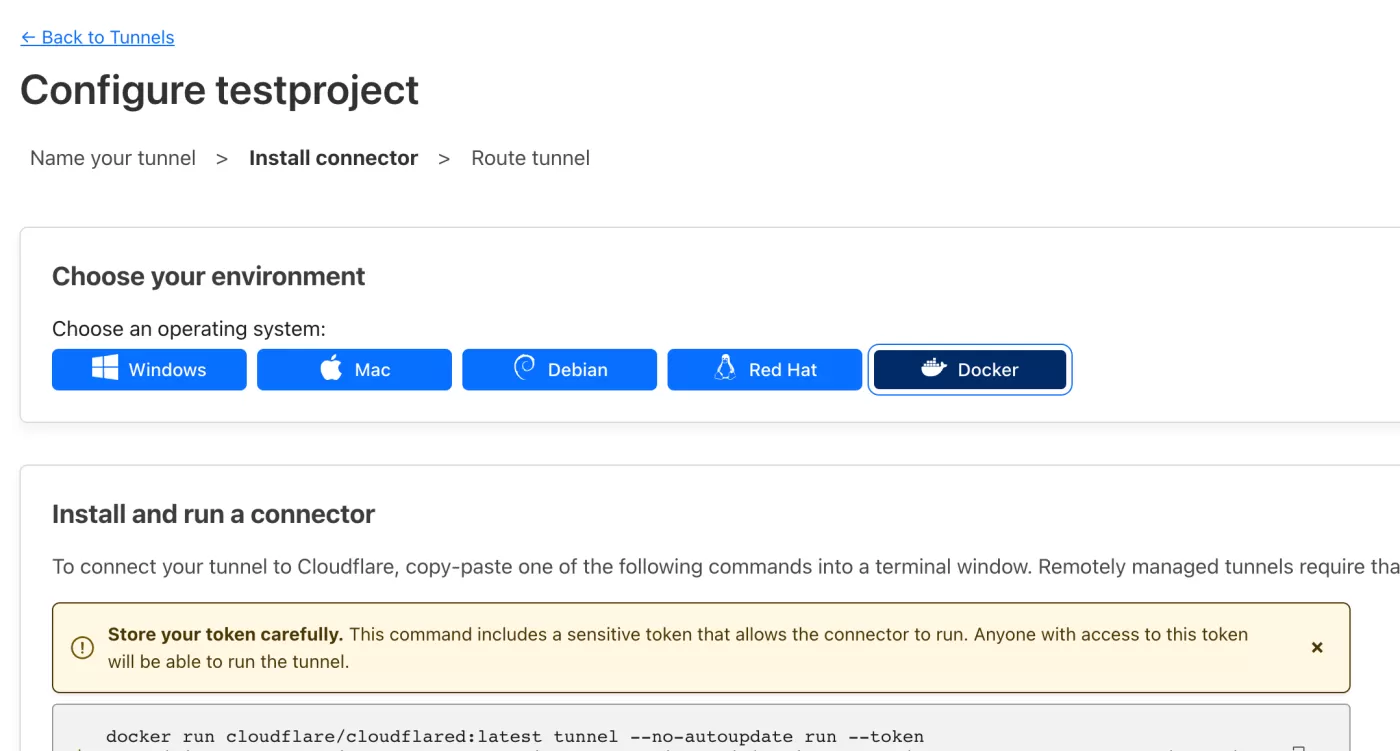
Choose docker and copy the docker run command.
It should look something like this.:
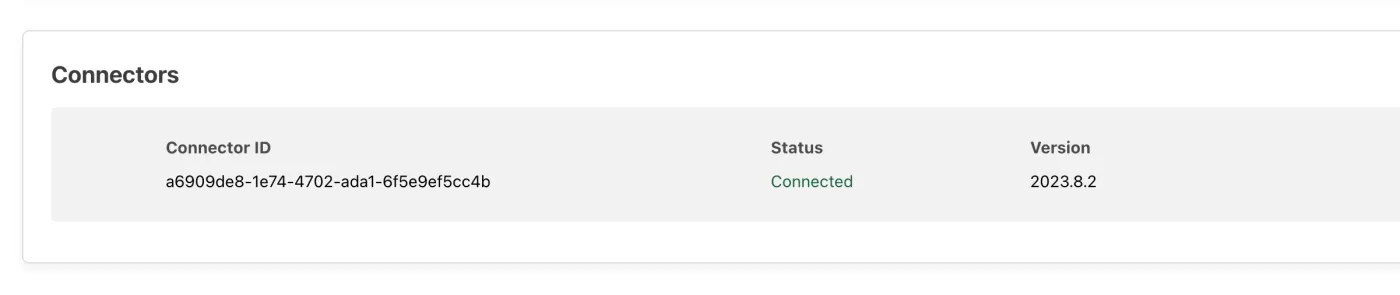
$ docker run cloudflare/cloudflared:latest tunnel --no-autoupdate run --token XXXXXYou should see this in your terminal

and this in Cloudflare
on the next step in Cloudflare you need to configure the tunnel to your local IP.
First, you need to obtain your local IP address. You can do so by running
$ ifconfig | grep 192.168.88my local network DHCP server, which gives 192.168.88.* IP addresses. In my case, my IP is 192.168.88.44
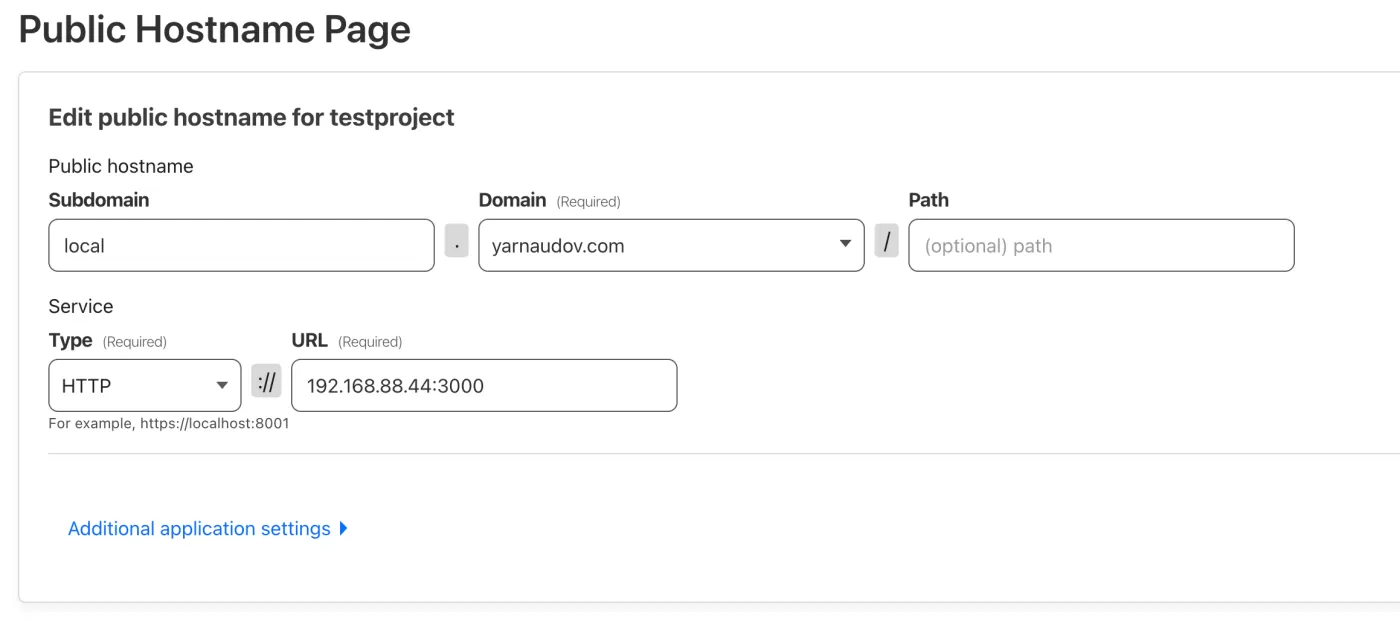
Now I've configured local.yarnaudov.com tunnel to 192.168.88.44:3000
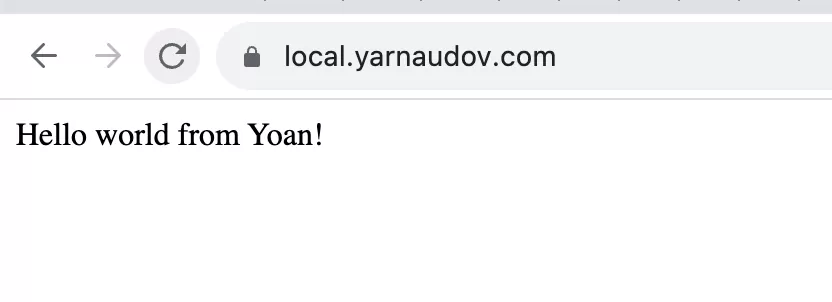
Nice! Now, your local web server is available on the World Wide Web! And this is totally free.
You can check this NetworkChuck video - in this video, he uses Cloudflare Tunnels with ntfy.sh to create custom push notifications to his phone.
What are the alternatives?
Here is a list of popular tunneling alternatives:
How to fix "Unable to reach the origin service. The service may be down or it may not be responding to traffic from cloudflared:" error
You'll get the following error if you don't specify the correct local IP address in your tunnel:
2023-09-19T06:51:31Z ERR  error="Unable to reach the origin service. The service may be down or it may not be responding to traffic from cloudflared: dial tcp 127.0.0.1:3000: connect: connection refused" cfRay=808fe69279e33141-FRA event=1 ingressRule=0 originService=http://localhost:3000
2023-09-19T06:51:31Z ERR Request failed error="Unable to reach the origin service. The service may be down or it may not be responding to traffic from cloudflared: dial tcp 127.0.0.1:3000: connect: connection refused" connIndex=0 dest=https://blah.yarnaudov.com/ event=0 ip=198.41.192.227 type=http
2023-09-19T06:51:32Z ERR  error="Unable to reach the origin service. The service may be down or it may not be responding to traffic from cloudflared: dial tcp 127.0.0.1:3000: connect: connection refused" cfRay=808fe6955878313e-FRA event=1 ingressRule=0 originService=http://localhost:3000
2023-09-19T06:51:32Z ERR Request failed error="Unable to reach the origin service. The service may be down or it may not be responding to traffic from cloudflared: dial tcp 127.0.0.1:3000: connect: connection refused" connIndex=0 dest=https://blah.yarnaudov.com/favicon.ico event=0 ip=198.41.192.227 type=http
To fix this issue, don't use localhost. You need to use your local IP address - 192.168.xxx